- SpringBoot集成MyBatis
- SpringBoot事务管理
- SpringBoot中SpringMVC注解
- SpringBoot实现RESTful
- SpringBoot集成Redis
- SpringBoot集成Dubbo
- SpringBoot热部署插件
- SpringBoot集成Thymeleaf
- SpringBoot Thymeleaf表达式
- SpringBoot Thymeleaf常见属性
- Thymeleaf字面量、字符串拼接及运算符
- Thymaleaf表达式基本对象与功能对象
SpringBoot集成Thymeleaf

认识Thymeleaf
Thymeleaf是一个流行的模板引擎,该模板引擎采用Java语言开发;
模板引擎是一个技术名词,是跨领域跨平台的概念,在Java语言体系下有模板引擎,在C#、PHP语言体系下也有模板引擎,甚至在JavaScript中也会用到模板引擎技术,Java生态下的模板引擎有 Thymeleaf 、Freemaker、Velocity、Beetl(国产) 等。
Thymeleaf 对网络环境不存在严格的要求,既能用于Web环境下,也能用于非Web环境下。在非Web环境下,他能直接显示模板上的静态数据;在Web环境下,它能像Jsp一样从后台接收数据并替换掉模板上的静态数据。它是基于HTML的,以HTML标签为载体,Thymeleaf要寄托在HTML标签下实现。
Spring Boot 集成了Thymeleaf模板技术,并且Spring Boot官方也推荐使用Thymeleaf来替代JSP技术,Thymeleaf是另外的一种模板技术,它本身并不属于Spring Boot,Spring Boot只是很好地集成这种模板技术,作为前端页面的数据展示,在过去的Java Web开发中,我们往往会选择使用Jsp去完成页面的动态渲染,但是jsp需要翻译编译运行,效率低。
Thymeleaf的官方网站:http://www.thymeleaf.org
Thymeleaf官方手册:https://www.thymeleaf.org/doc/tutorials/3.0/usingthymeleaf.html
Spring Boot集成Thymeleaf
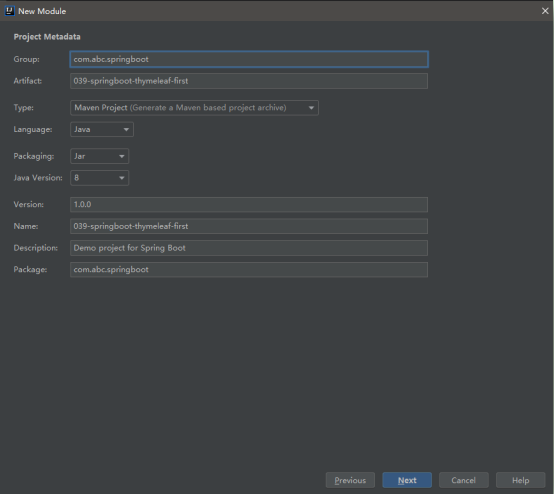
项目名称:039-springboot-thymeleaf-first
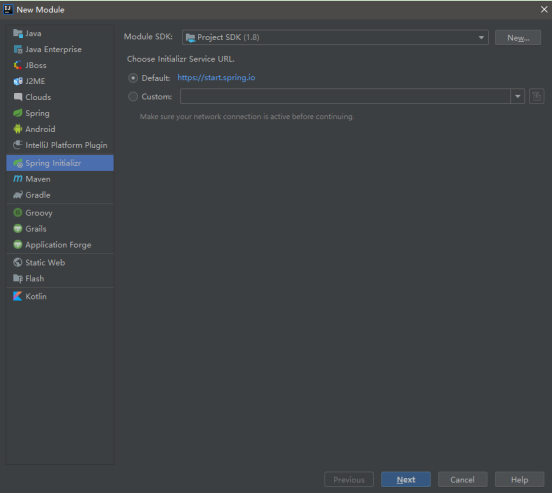
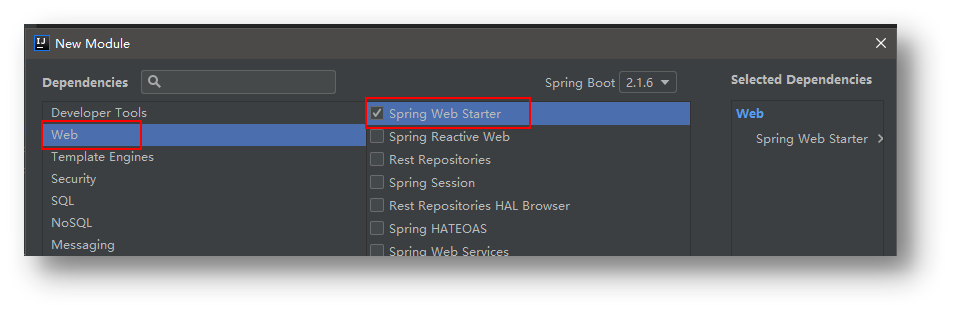
1.创建Spring Boot项目,添加web和Thymeleaf依赖
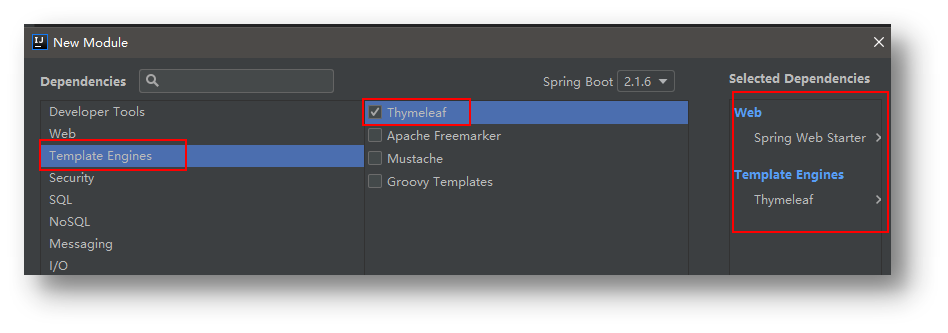
按照这种方式创建后,pom.xml文件下会自动添加如下依赖
<!--SpringBoot集成Thymeleaf的起步依赖-->
<dependency>
    <groupId>org.springframework.boot</groupId>
    <artifactId>spring-boot-starter-thymeleaf</artifactId>
</dependency>

<!--SpringBoot开发web项目的起步依赖-->
<dependency>
    <groupId>org.springframework.boot</groupId>
    <artifactId>spring-boot-starter-web</artifactId>
</dependency>
2.在Spring boot的核心配置文件application.properties中对Thymeleaf进行配置
#thymeleaf页面的缓存开关,默认true开启缓存
#建议在开发阶段关闭thymeleaf页面缓存,目的实时看到页面
spring.thymeleaf.cache=false
其实什么都不用配置就可以工作,因为基本Thymeleaf的配置都有默认值
前缀:
#thymeleaf模版前缀,默认可以不写
spring.thymeleaf.prefix=classpath:/templates/


后缀:
#thymeleaf模版后缀,默认可以不写
spring.thymeleaf.suffix=.html
3.创建ThymeleafControlle去映射到模板页面(和SpringMVC基本一致)
package com.abc.springboot.web;

import org.springframework.stereotype.Controller;
import org.springframework.ui.Model;
import org.springframework.web.bind.annotation.RequestMapping;

import javax.servlet.http.HttpServletRequest;

/**
 * ClassName:ThymeleafController
 * Package:com.abc.springboot.web
 * Description:

 */

@Controller
public class ThymeleafController {

    @RequestMapping(value = "/springboot/thymeleaf/index")
    public String index(HttpServletRequest request, Model model) {

        model.addAttribute("data","恭喜您,SpringBoot集成Thymeleaf成功");

        return "index";
    }
}
4.在src/main/resources的templates下新建一个index.html页面用于展示数据
HTML页面的元素中加入以下属性:
<html xmlns:th="http://www.thymeleaf.org">
<!DOCTYPE html>
<html lang="en" xmlns:th="http://www.thymeleaf.org">
<head>
<meta charset="UTF-8">
<title>SpringBoot集成Thymeleaf</title>
</head>
<body >
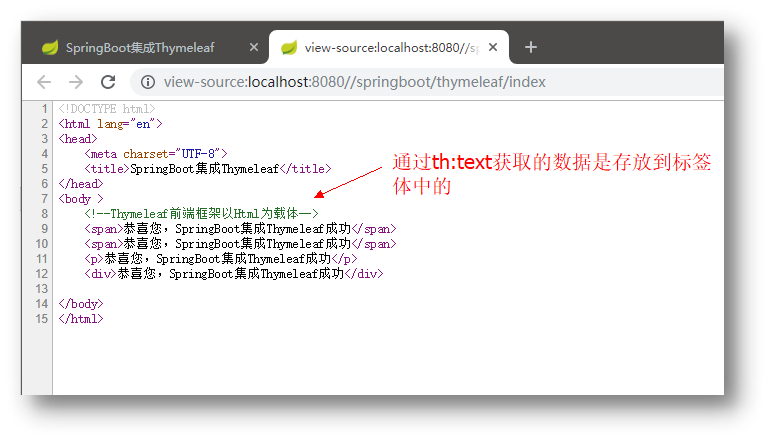
<!--Thymeleaf前端框架以Html为载体-->
<span th:text="${data}"></span>
<span th:text="${data}"></span>
<p th:text="${data}"></p>
<div th:text="${data}"></div>
</body>
</html>
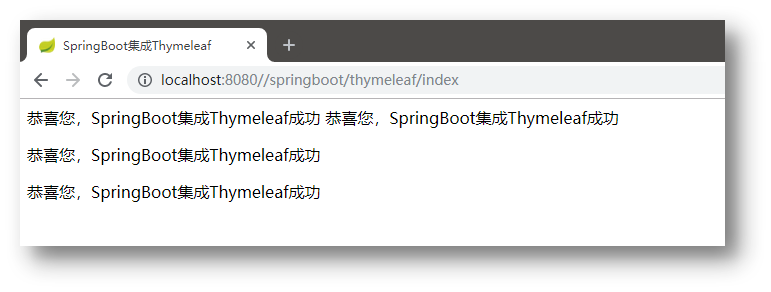
5.启动程序,浏览器访问http://localhost:8080/index
右键->查看页面源代码
 注意:Springboot使用thymeleaf作为视图展示,约定将模板文件放置在src/main/resource/templates目录下,静态资源放置在src/main/resource/static目录下