- SpringBoot集成MyBatis
- SpringBoot事务管理
- SpringBoot中SpringMVC注解
- SpringBoot实现RESTful
- SpringBoot集成Redis
- SpringBoot集成Dubbo
- SpringBoot热部署插件
- SpringBoot集成Thymeleaf
- SpringBoot Thymeleaf表达式
- SpringBoot Thymeleaf常见属性
- Thymeleaf字面量、字符串拼接及运算符
- Thymaleaf表达式基本对象与功能对象
SpringBoot Thymeleaf表达式

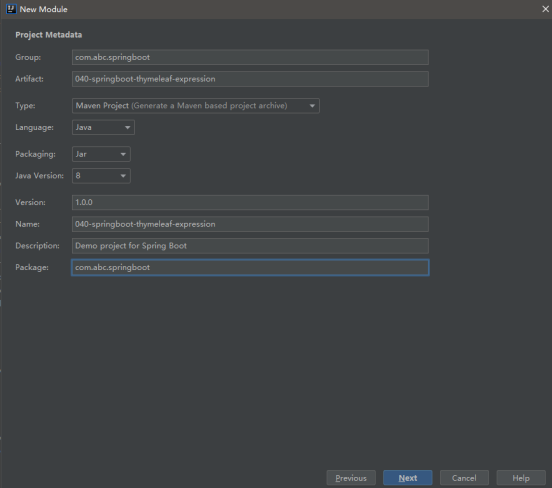
项目名称:040-springboot-thymeleaf-expression
1.创建SpringBoot的web项目并使用模版引擎

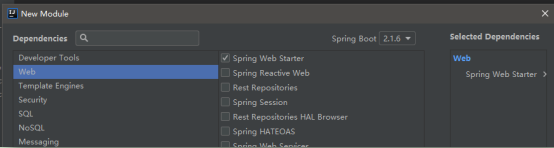

2.pom.xml中应该有如下两个依赖
<!--SpringBoot集成Thymeleaf模版引擎的起步依赖-->
<dependency>
    <groupId>org.springframework.boot</groupId>
    <artifactId>spring-boot-starter-thymeleaf</artifactId>
</dependency>

<!--SpringBoot的web项目起步依赖-->
<dependency>
    <groupId>org.springframework.boot</groupId>
    <artifactId>spring-boot-starter-web</artifactId>
</dependency>
3.在application.properties中设置thymeleaf参数
#设置thymeleaf页面缓存失效
spring.thymeleaf.cache=false

#thymeleaf模版前缀,默认值,可选项
spring.thymeleaf.prefix=classpath:/templates/
#thymeleaf模版后缀,默认值,可选项
spring.thymeleaf.suffix=.html
4.创建实体User实体类
在com.abc.springboot.model包下创建User实体类
package com.abc.springboot.model;
/**
 * ClassName:User
 * Package:com.abc.springboot.model
 * Description:

 */
public class User {

    private Integer id;

    private String nick;

    private String phone;

    private String address;

    //此处省略属性的set和get
}
5.创建ThymeleafController类
在com.abc.springboot.web包下创建ThymeleafController类
package com.abc.springboot.web;
import org.springframework.stereotype.Controller;
import org.springframework.ui.Model;
import org.springframework.web.bind.annotation.RequestMapping;
/**
* ClassName:ThymeleafController
* Package:com.abc.springboot.web
* Description:
*/
@Controller
public class ThymeleafController {
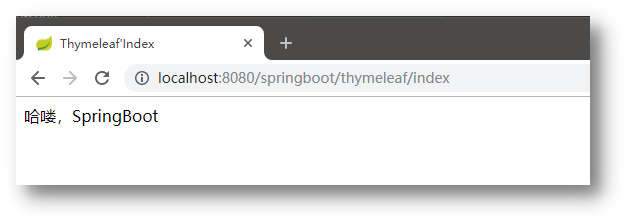
@RequestMapping(value = "/springboot/thymeleaf/index")
public String index(Model model) {
model.addAttribute("data","哈喽,SpringBoot");
return "index";
}
}
6.在src/main/resources/templates在创建html页面
<!DOCTYPE html>

<html lang="en" xmlns:th="http://www.thymeleaf.org">
<head>
    <meta charset="UTF-8">
    <title>Thymeleaf'Index</title>
</head>
<body>
<span th:text="${data}"></span>
</body>
</html>
7.测试
标准变量表达式
注意:th:text="" 是Thymeleaf的一个属性,用于文本的显示
1.语法 ${...}
2.说明
标准变量表达式用于访问容器(tomcat)上下文环境中的变量,功能和EL中的 ${} 相同。Thymeleaf 中的变量表达式使用 ${变量名} 的方式获取Controller中model其中的数据。
3.案例演示
在ThymeleafController中添加user方法中,向model放入User对象
@RequestMapping(value = "/thymeleaf/expression/user")
public String user(Model model) {

    User user = new User();

    user.setId(100);
    user.setPhone("13700000000");
    user.setNick("张三");
    user.setAddress("北京市亦庄");

    model.addAttribute("user",user);

    return "user";
}
在templates目录下创建user.html页面获取User对象数据
<!DOCTYPE html>
<html lang="en" xmlns:th="http://www.thymeleaf.org">
<head>
<meta charset="UTF-8">
<title>Thymeleaf标准变量表达式</title>
</head>
<body>
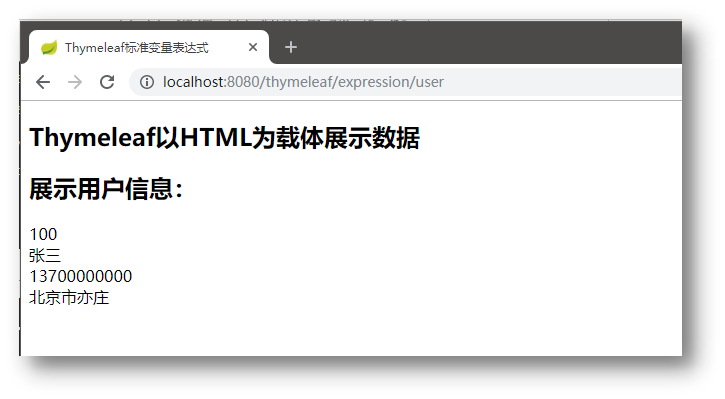
<h2>Thymeleaf以HTML为载体展示数据</h2>
<h2>展示用户信息:</h2>
<span th:text="${user.id}"></span><br/>
<span th:text="${user.nick}"></span><br/>
<span th:text="${user.phone}"></span><br/>
<span th:text="${user.address}"></span><br/>
</body>
</html>
为了演示方便,在pom.xml文件中加入热部署插件
<!--热部署插件-->
<dependency>
   <groupId>org.springframework.boot</groupId>
   <artifactId>spring-boot-devtools</artifactId>
   <optional>true</optional>
</dependency>
浏览器访问http://localhost:8080/thymeleaf/expression/user 测试
4.重新Recompile即可生效
选择变量表达式(了解,不推荐使用)
1.语法:*{...}
2.说明
选择变量表达式,也叫星号变量表达式,使用 th:object 属性来绑定对象;
选择表达式首先使用th:object来绑定后台传来的User对象,然后使用 * 来代表这个对象,后面 {} 中的值是此对象中的属性。
选择变量表达式 *{...} 是另一种类似于标准变量表达式 ${...} 表示变量的方法;
选择变量表达式在执行时是在选择的对象上求解,而${...}是在上下文的变量Model上求解,这种写法比标准变量表达式繁琐,只需要大家了解即可。
3.案例演示
在user.html通过选择变量表达式获取用户数据
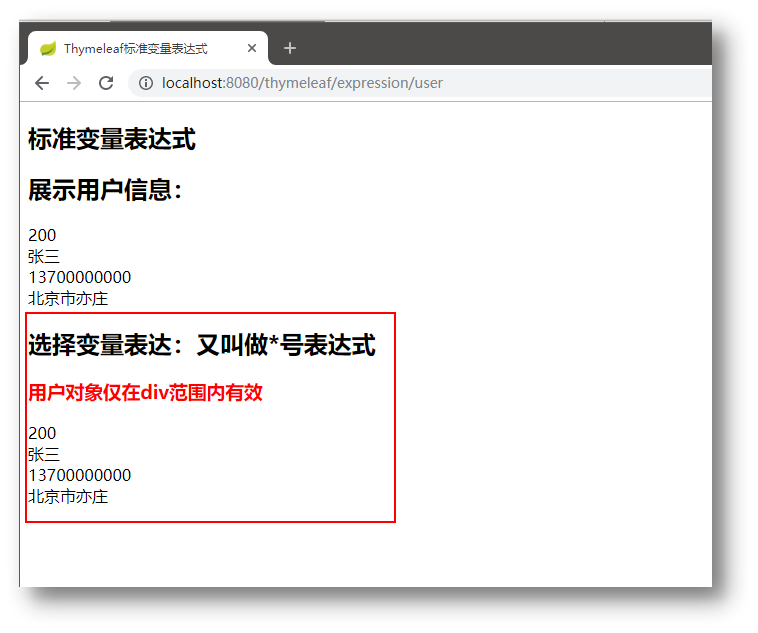
<h2>选择变量表达:又叫做*号表达式</h2>
<h3 style="color: red">用户对象仅在div范围内有效</h3>
<div th:object="${user}">
    <span th:text="*{id}"></span><br/>
    <span th:text="*{nick}"></span><br/>
    <span th:text="*{phone}"></span><br/>
    <span th:text="*{address}"></span><br/>
</div>
浏览器访问http://localhost:8080/thymeleaf/expression/user 测试
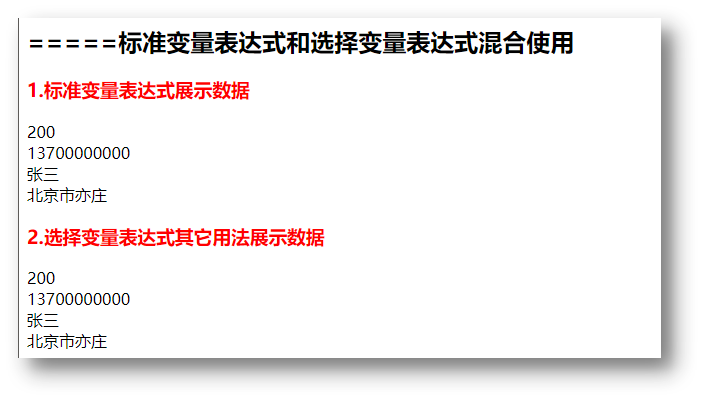
标准变量表达式和选择变量表达式可以混合一起使用, 也可以不使用 th:object 进行对象的选择,而直接使用 *{...} 获取数据
<h2>=====标准变量表达式和选择变量表达式混合使用</h2>

<h3 style="color: red">1.标准变量表达式展示数据</h3>
<div th:text="${user.id}"></div>
<div th:text="${user.phone}"></div>
<div th:text="${user.nick}"></div>
<div th:text="${user.address}"></div>

<h3 style="color: red">2.选择变量表达式其它用法展示数据</h3>
<div>
    <span th:text="*{user.id}"></span><br/>
    <span th:text="*{user.phone}"></span><br/>
    <span th:text="*{user.nick}"></span><br/>
    <span th:text="*{user.address}"></span><br/>
</div>
测试查看结果
URL表达式
1.语法@{...}
2.说明
主要用于链接、地址的展示,可用于
<script src="...">、<link href="...">、<a href="...">、<form action="...">、<img src="">等,可以在URL路径中动态获取数据
3.案例演示
在user.html页面中加入如下代码
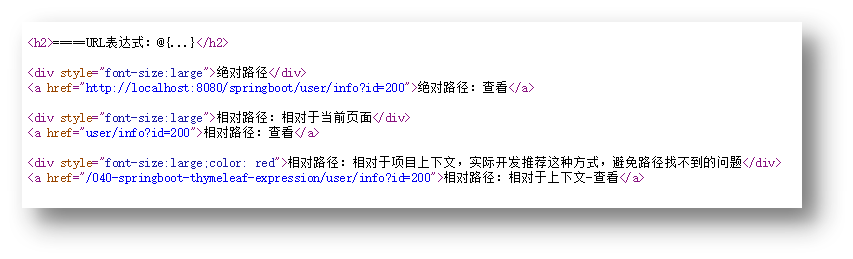
<h2>=====URL表达式:@{...}</h2>
<div style="font-size:large">绝对路径</div>
<a href="info.html" th:href="@{'http://localhost:8080/springboot/user/info?id=' + ${user.id}}">绝对路径:查看</a>

<div style="font-size:large">相对路径:相对于当前页面</div>
<a th:href="@{'user/info?id=' + ${user.id}}">相对路径:查看</a>

<div style="font-size:large;color: red">相对路径:相对于项目上下文,实际开发推荐这种方式,避免路径找不到的问题</div>
<a th:href="@{'/user/info?id=' + ${user.id}}">相对路径:相对于上下文-查看</a>
为了演示加上下文的效果,在application.properties中配置项目上下文
#设置项目上下文根

server.servlet.context-path=/040-springboot-thymeleaf-expression
浏览器访问,右键查看源代码